

unsplash.com
Tight on a budget while launching an e-store?
Product photography is the first detail a customer notices; the better you present the product, the higher conversion. Shoppers’ experience is different buying online compared to physical stores. A product photo should give them information about the item they are looking to purchase.
Your supermarket catalog is created by product photographers. Hiring pros to create visual campaigns for your products is a great idea, but if on a budget – why not do it yourself?
Don’t think this is possible? We’ll show you how to create eye-catching photos by using your phone, camera, and daylight.
Let’s go through the basics.
Equipment – utilize what you have
Did you know the music video for Lose you to love me by Selena Gomez was recorded with an iPhone?
https://www.youtube.com/watch?v=zlJDTxahav0
Why not use a smartphone to create a complete product photography campaign, save on expenses and have fun while doing it?
All that’s needed is daylight, backgrounds, and some stable object/tripod.
How to use a smartphone to take stunning images
- To achieve maximum image quality, the phone should be placed on a tripod or an object to prevent any movement. In this way, the pixel values are at full potential – any movement reduces image quality.
- Make sure to set the image setting at the highest resolution offered.

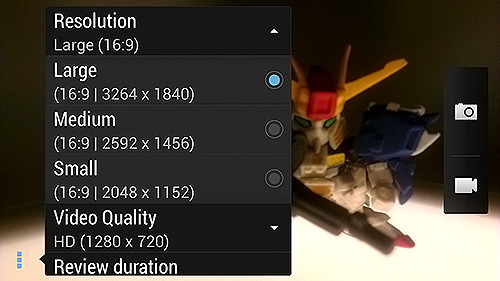
- Don’t use filters as it reduces image quality. Take a standard picture.
Own or have an option to rent or borrow a camera – great.
If a camera has a full-frame sensor – the image size can be 20MB or more. Make sure to check the regulations of the e-store for image size requirements.
DSLR or mirrorless – the same principle of setting adjustment applies:
- Auto mode – This mode automatically applies settings to the picture. To avoid messing around with manual settings, auto mode is best to apply in natural daylight. In this way, editing requires minimal adjustments.
- Manual setting – Straightforward explanation would be; the brighter the day- the higher the aperture value (11-20)
For ISO values are opposite; the brighter the day – the lower ISO (200-400)
White balance can be set on auto or sunny day.

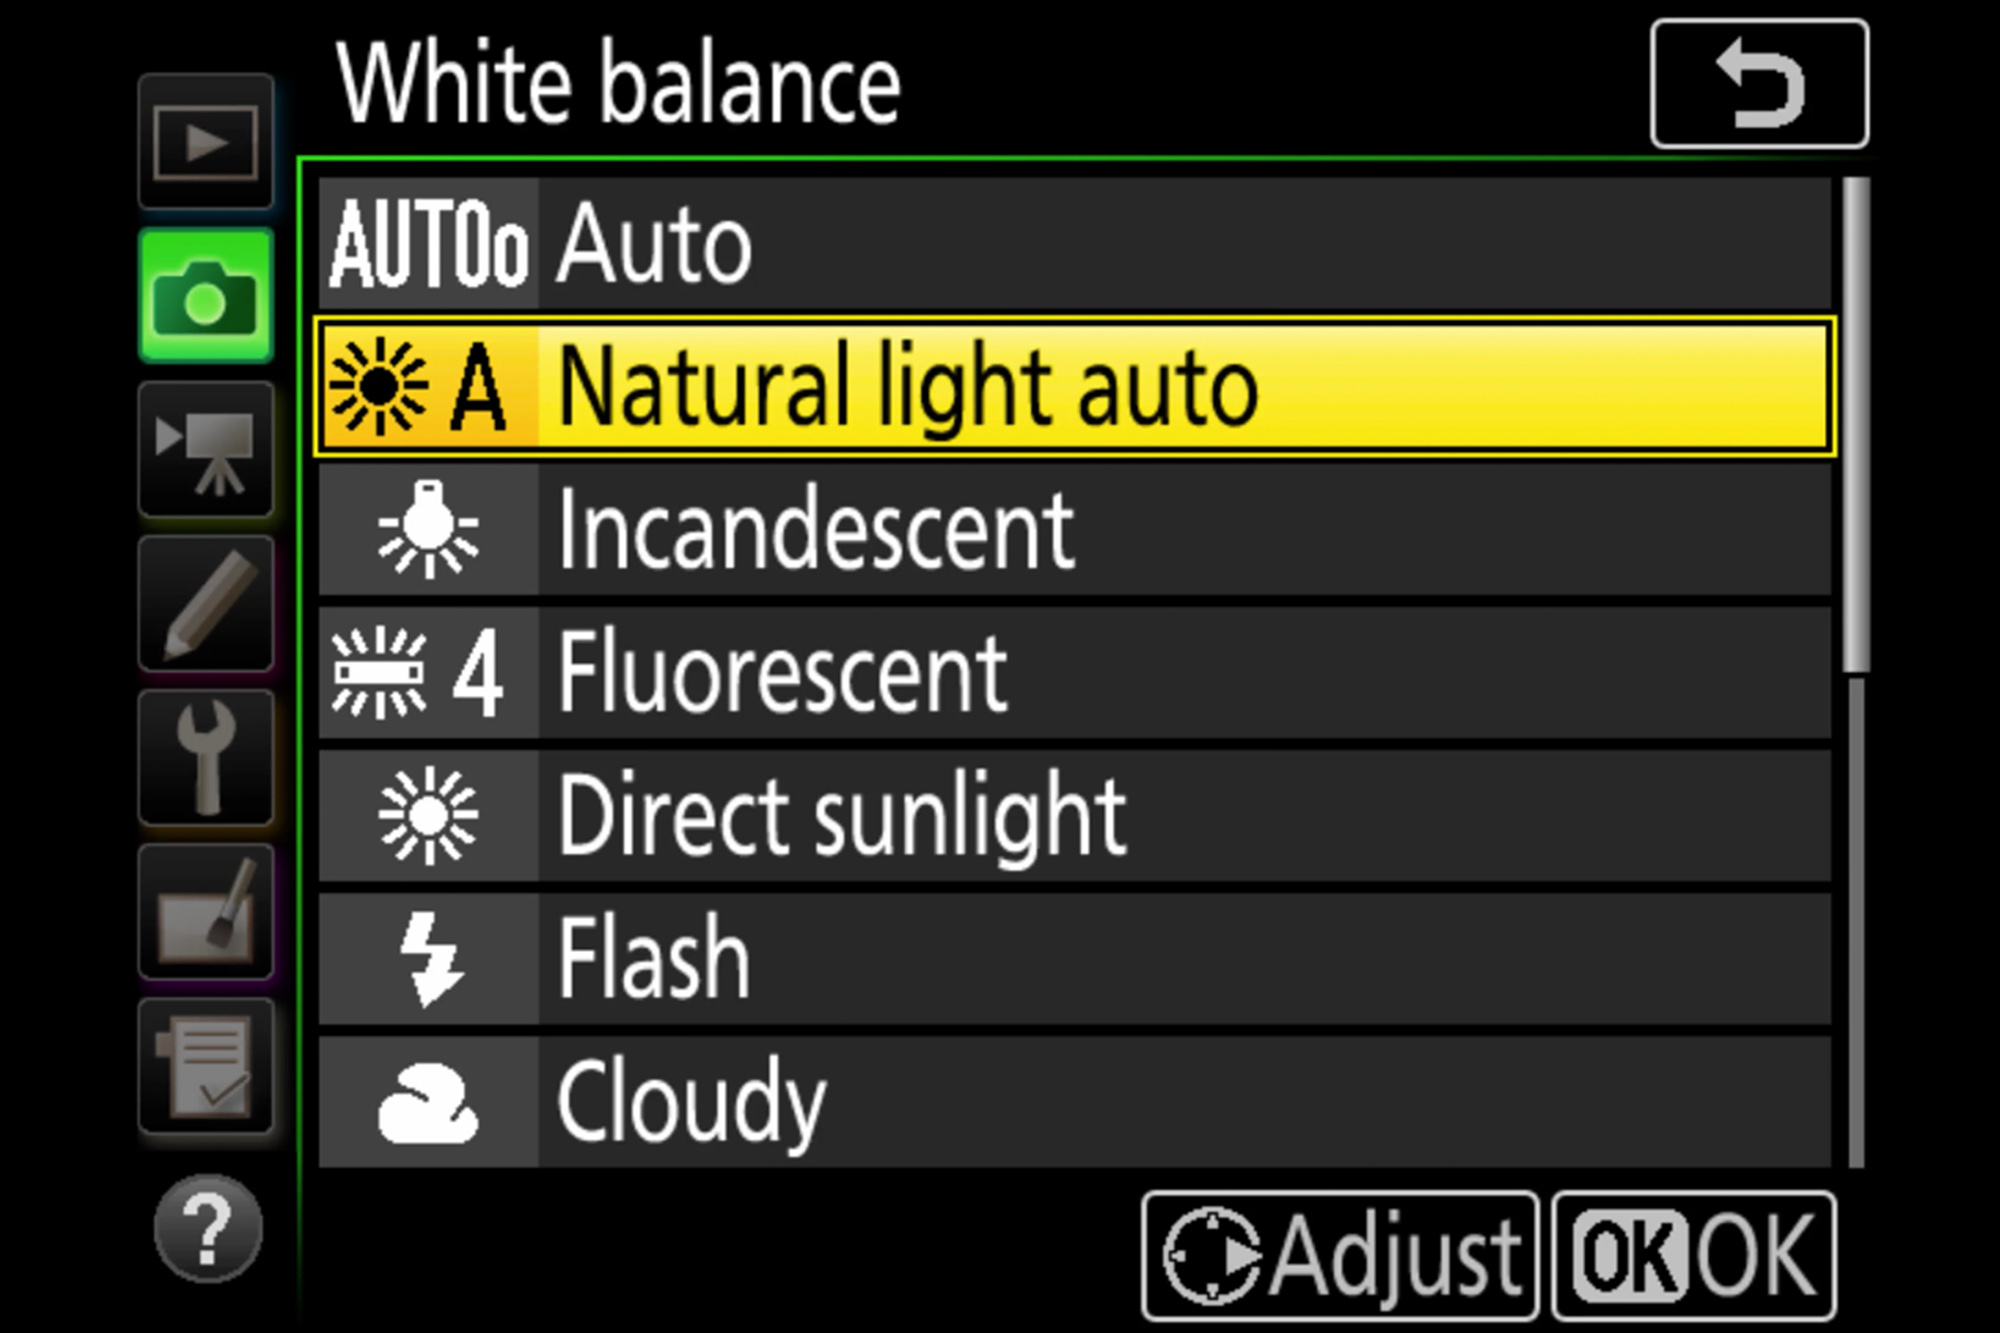
There are two types of lenses: zoom and prime.
Zoom lenses have changeable field depth, for example, 18-200mm. With a zoom lens, it’s possible to change the distance from a product photographed and easily zoom in and out.
Prime lenses have only one value for the depth of field, for example, 50mm. This means the distance from the product has to be fixed.
Light and light temperature – How to use daylight instead of Studio Lights

It’s all about light temperature. The daylight temperature is around 5500 – 6500k(Kelvin), Indoors light temperature is around 3600k, and candlelight is around 2000k.
This means the higher the light temperature, the better detail and less grain in photos.
If photographing indoors, have additional lighting, or the set should be in front of the window.

Use white paper on the opposite side of the window to reflect more light on the product.
When it comes to your smartphone, don’t worry about this setting if there is enough light. Take a standard image, and increase brightness when editing.
If equipped with a camera, it’s possible to add flash. Most cameras have built-in flashes, and those can be set to auto.
Should I photograph my products outside?
During the day, there are two Golden Hour time frames.
Golden hour happens during sunrise and sunset. This is the ideal light temperature to mimic studio lights.
This is why Hollywood was established in the California hills in 1887. Film productions took advantage of Golden Hours and daylight to lower the cost of expensive studio lighting.
What background should I use?

Backgrounds can mimic environments such as the seashore, mountains, etc. They can mimic surfaces such as wood, stone, brick.
Printed backgrounds are cheap, and they’ll save you from lengthy trips in a look for the perfect set.
White background – why are all products photographed in the white studio?

There are a couple of technical reasons – the white color reflects the flashlight better and accents the product. It is easier to remove unwanted objects, such as wires, if photographing floating objects.
Editing is easier; edits are normally performed only on products to save time.
Products are visible, and nothing interrupts shoppers’ experience.
Plain white is always an option – however, this won’t make photos stand out on landing pages or social media.
Use white background for selling products, and use a creative background for product presentation.
Color pop, geometrical color schemes, prints, and printed backgrounds are better options; find the perfect match for your specific product.

Having backdrops is easier than finding the perfect spot for photographing outside. Backdrops can be placed on the terrace, chair, or wall. You never have to leave your home.
How to edit photos using pro software?
For those inexperienced with Photoshop or Lightroom, don’t worry; both software feature auto-adjust settings.
If this still doesn’t look pro, a few simple steps will fix it.

screenshot
Adjust exposure, contrast, and shadows until satisfied with the image.
Photoshop app is available in the app store.
More comfortable using different editors? That’s fine; make sure the image is lit and the product is standing out.

This image wasn’t edited; this is how your photo will look before increasing brightness and contrast to make it look more professional.
Product photography examples
Tik Tok Product photographers – The simplest ideas
Katamogz – Product floating on water
https://www.tiktok.com/@katamogz/video/6971987163080658182?lang=en&is_copy_url=1&is_from_webapp=v1
To have a product float on water, use a dish or white plastic container, apply sticky foil to prevent the product from moving, and achieve a wave effect. Use daily light to equally lighten the object, and try not to create a shadow with your phone.
More attention dedicated to crop and frame the photo, the less editing will be needed.
Juzmorgan – Create color blocks with printing paper
https://www.tiktok.com/@juzmorgan/video/6835629684542262533?lang=en&is_copy_url=1&is_from_webapp=v1
The simplest way to create color blocks or different shapes is by using colored printing paper.
Arrange paper in any way, create triangles, squares, or circles. Place a product and take a picture.
Mediumphormat – Authentic sets
Uses an authentic set to place products. Wooden and dark backgrounds create a unique atmosphere and add to the luxurious feel.
Didn’t we say that product photography is super easy to make?
YouTube product photographers – The coolest ideas
- Peter McKinnon – Take photos in your home
Check out Peters’s youtube channel for more inspiration for product photography
https://www.youtube.com/watch?v=AywNcZL6IQQ
Here’s an example of product photography taken in his kitchen.
Regardless of product type, this technique can be applied to different products.
- Joantography – Use a window as a source of light
Examples for product photography taken with a camera
Product photography – great ideas for creating sets. To learn more about adding extra effects, check out their channel.
Inspirational examples from Unsplash

This photograph was taken by Alex Lvrs. There are two ways to achieve this effect. First, by placing products on top of each other by using see-through plastic with separate compartments.

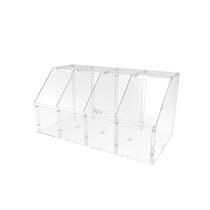
The second method is to take images separately and afterward edit them per preference.

This photo is taken by Pat Taylor. This is a black backdrop and mirror play. When a watch is placed on the mirror, it is important to avoid the mirror frame interfering with the product – less editing.

This photo is taken by Team Fredi. When working with models for product photography, use colors to emphasize the ambiance feel.

Use everyday objects and color paper to create the atmosphere.

This is an example of product photography taken outside by Álvaro Serrano.
The authentic background and daylight make this bag pop.
Pinterest product photography ideas

Use glasses to create eye-catching illusions.

Incorporate object associations in your photography. Is this a pool game or food photography?
Bonus tips
- Follow big brand photography ideas in your niche. If in the sneaker industry, check out Adidas, Nike, Puma, etc., for inspiration. Check their marketing campaign and pay attention to colors and style.
- Follow trends. Every season comes with trending color; every year comes with a trending style of photography. 2020 was a neon color year, 2019 was a floating photography year.
- When working with models, think of your desired customers. When targeting seniors, find models that are seniors.
Final thoughts
The essential aspect of product photography is the idea. Smartphones and cameras are the only tools that will help capture unique and eye-catching photos to convey your style and message. Follow trends, include printed backgrounds, and have fun.
Vitals guest author
0 Comments